- Published on
5 Tips for Using Labels in Shy Editor
- Authors

- Name
- Tony
- @shyeditor
Shy Editor labels are a type of metadata you can apply to sheets in your projects. Labels are a great way to highlight certain elements, because each label has a distinct color that can be displayed across different project views. You can create your own labels, and use them to sort sheets, get a high-level view of a project, and more.
In this article, I'll share five tips to help you get the most out of labels in Shy Editor.
1. What to use labels for
Shy Editor labels are a quick way to tag sheets in the Binder to highlight information about them. Some people use labels to indicate scenes or chapters with different point-of-view characters; others to show present time and flashbacks; or you could use them to indicate different settings. You could also use labels as an alternative to Sheet Statuses to indicate how much work is done or needed on a scene or chapter: for example,red to indicate an early draft, yellow for a draft that's been revised, or green for a final draft.
2. Apply labels from the Overview window
Shy Editor treats labels as data about a specific sheet. As such, Label data is available in the Overview tool, inside the Tools window.
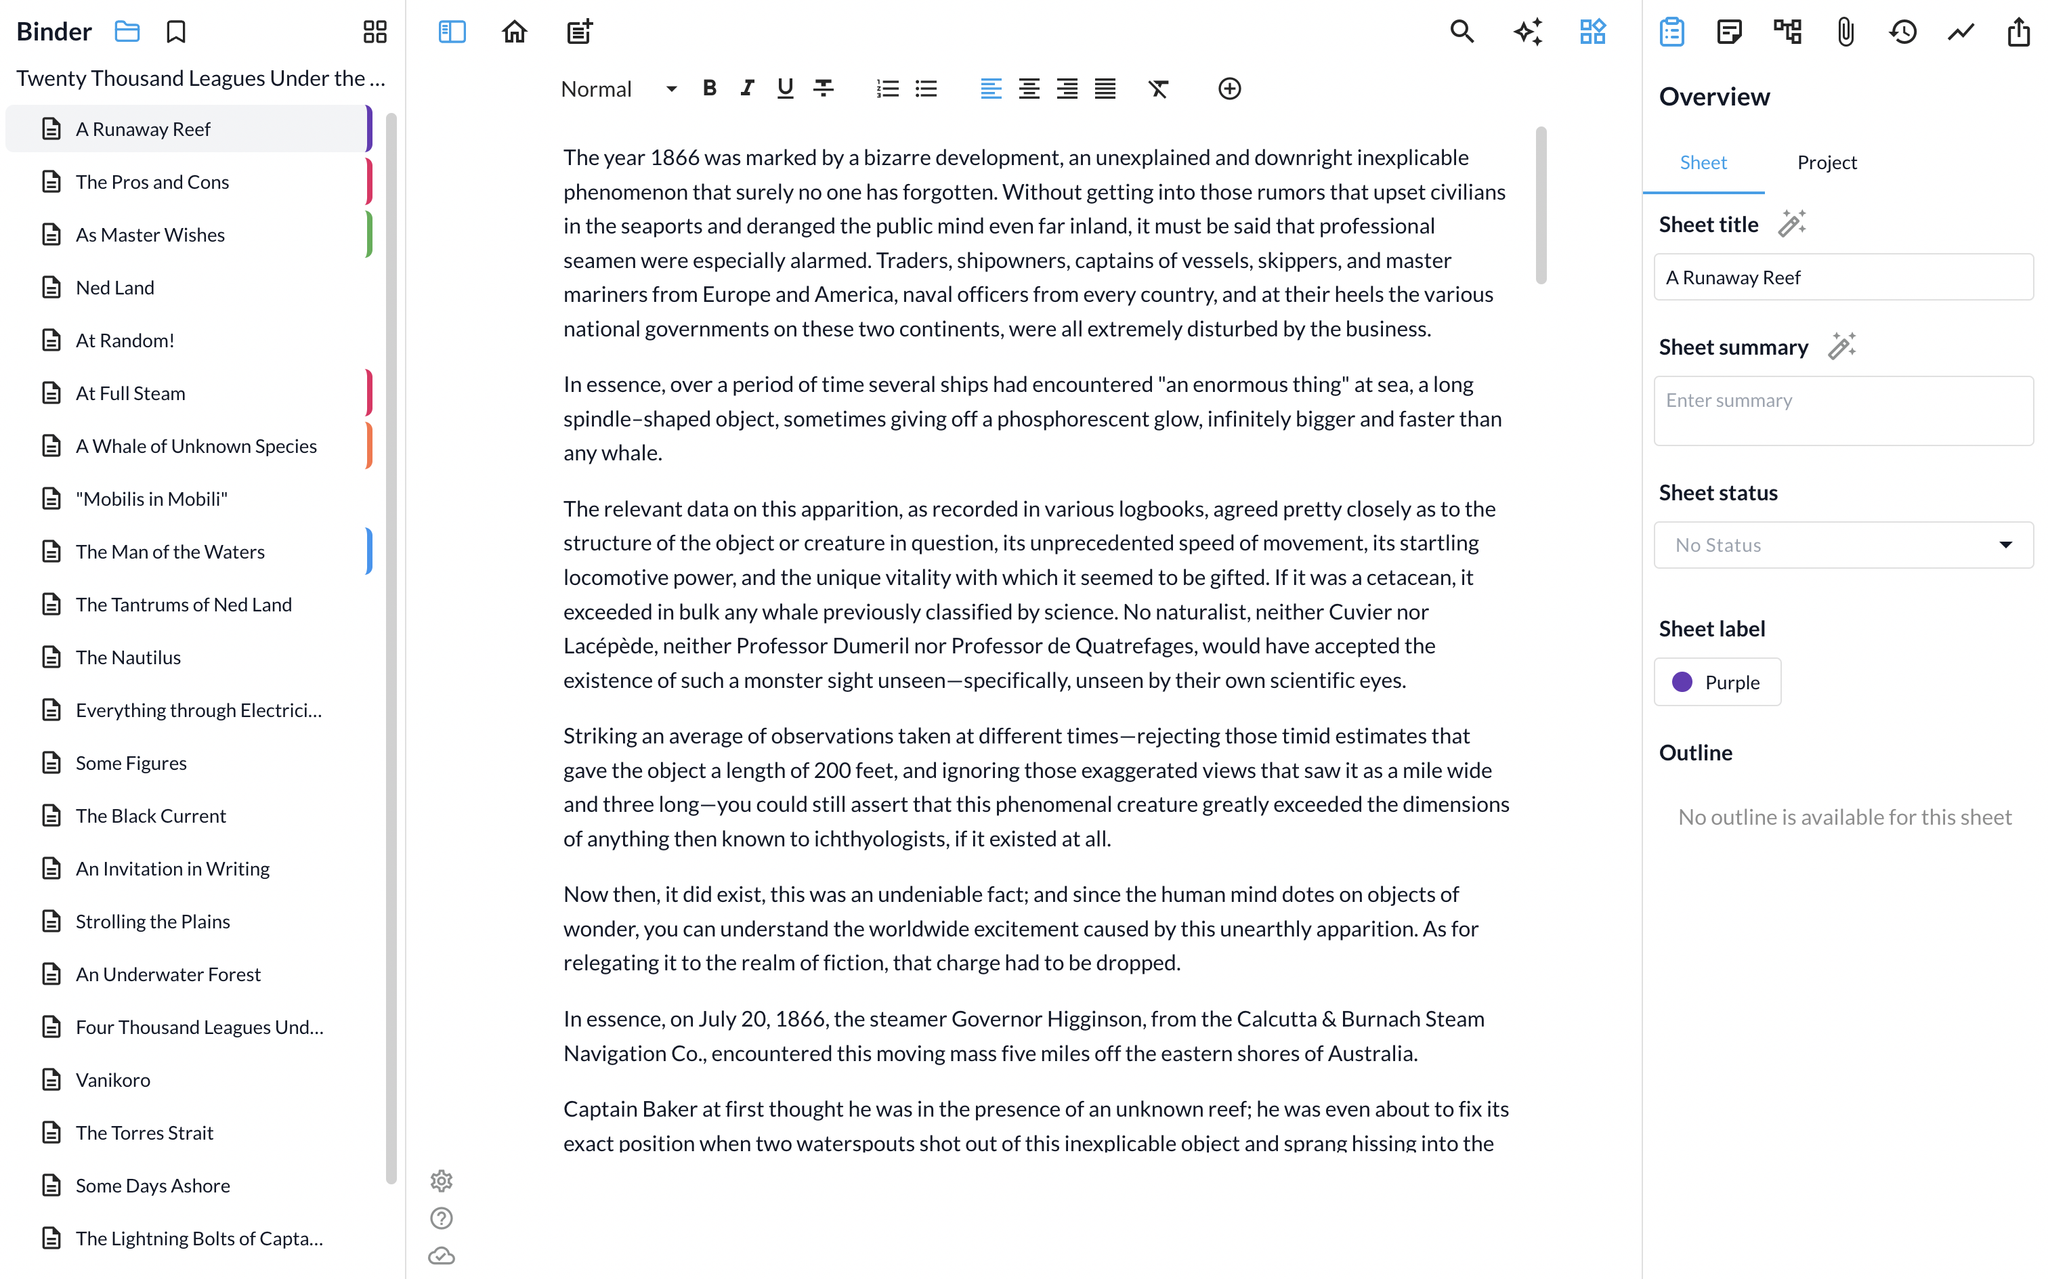
When you have a sheet selected, you can click the button in the Sheet Label section of the Overview to apply a Label. In this screenshot, the Purple label has been applied to the sheet. If there was no Label, the button would say No Label. Click this button to choose from available labels, remove the current label, or to create a new one.
3. View labels in the Binder
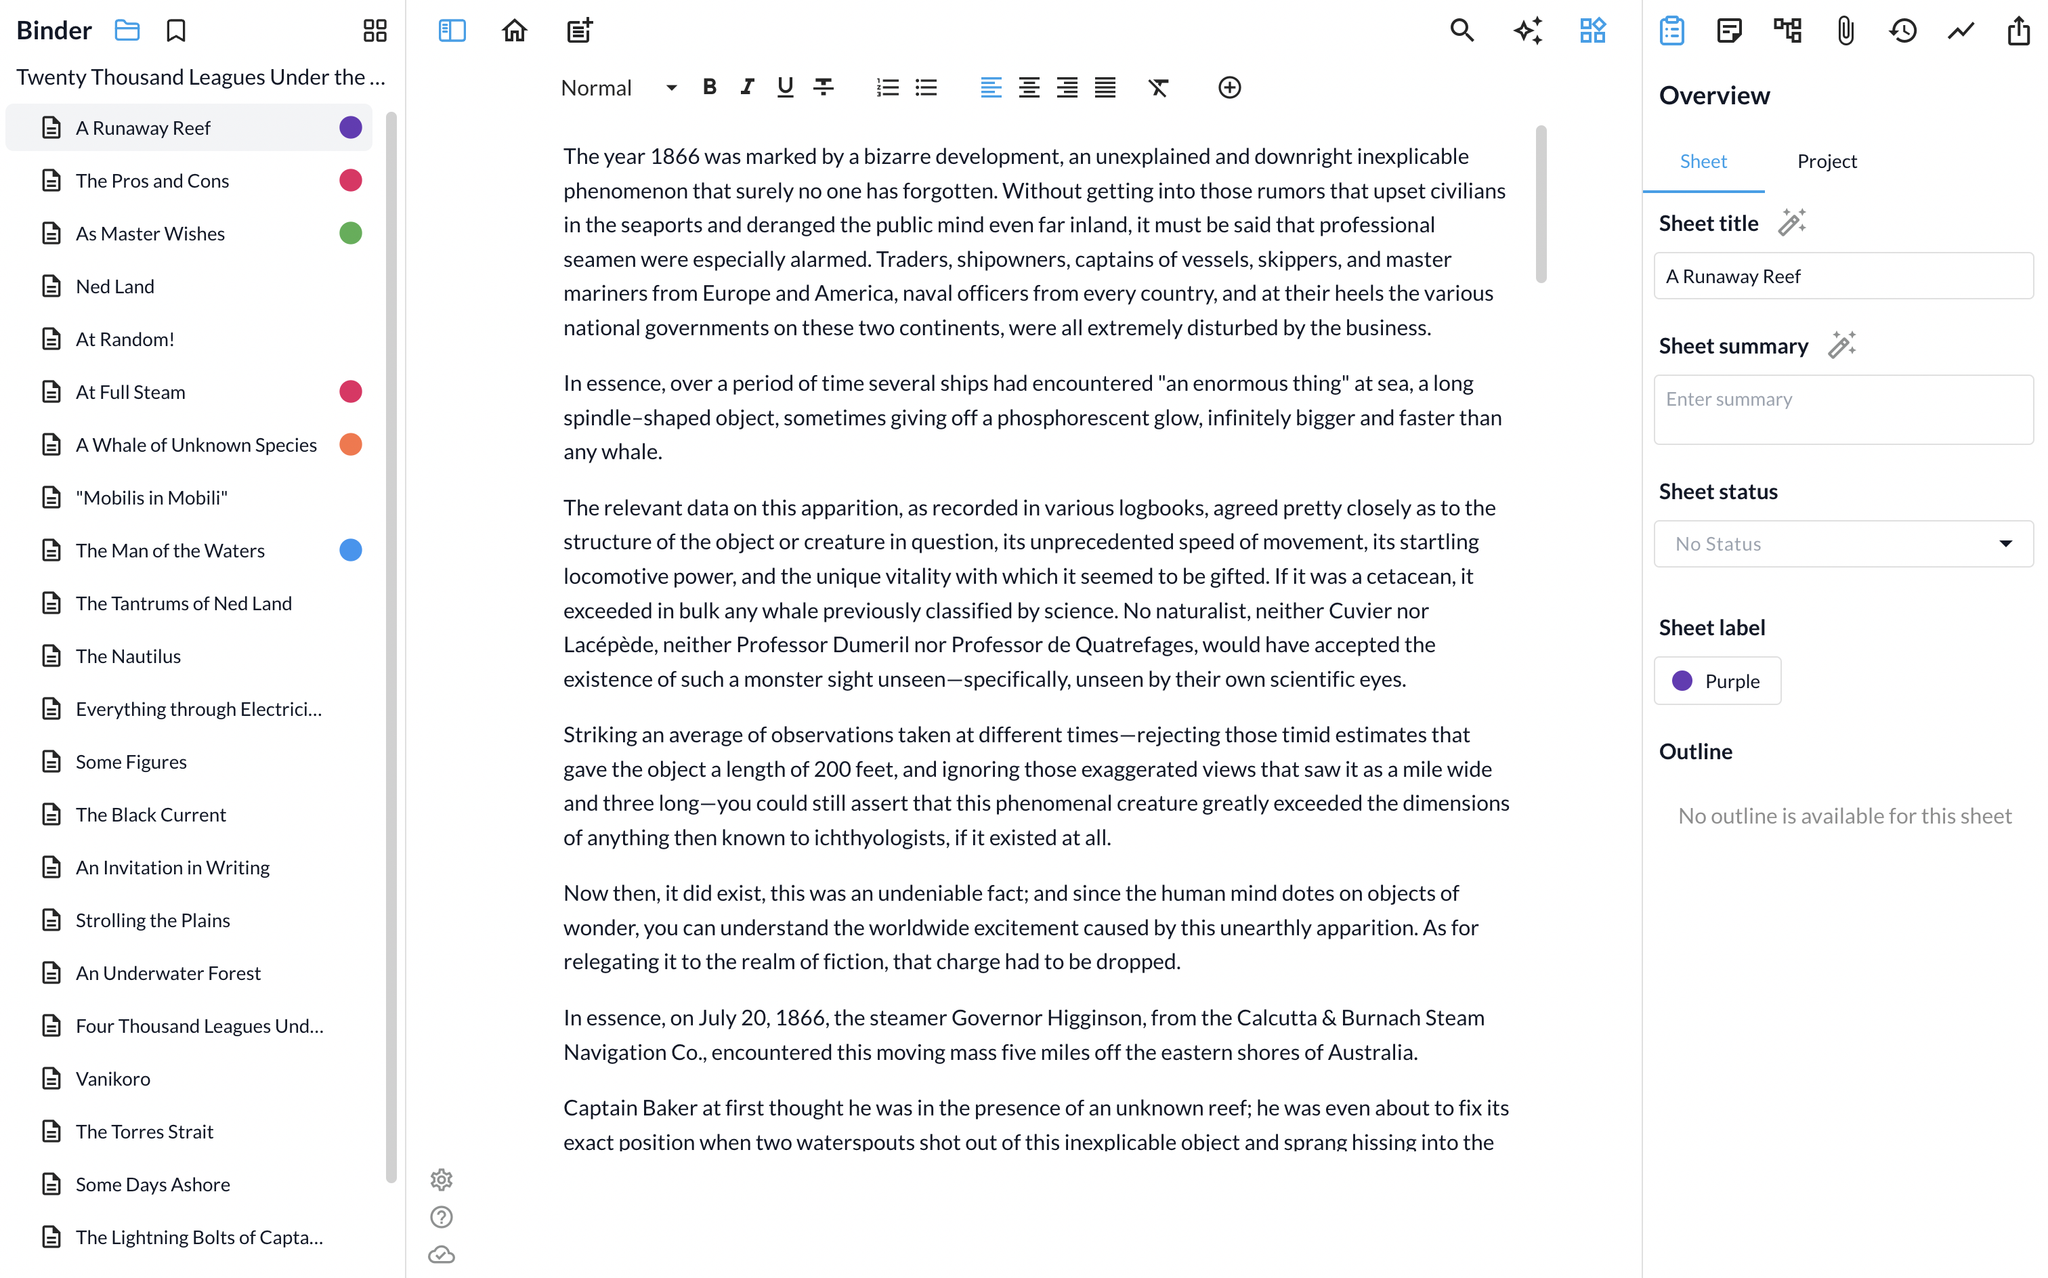
As you can see on the previous screenshot, by default labels are displayed as a subtle border on the right side of sheets in the Binder. You may want to display labels differently. If you open the project settings, you can choose one of several other options, such as Dots, Background, Border (the default), or None (if you don't want to see labels in the Binder at all). Here's how labels display as dots in the Binder:
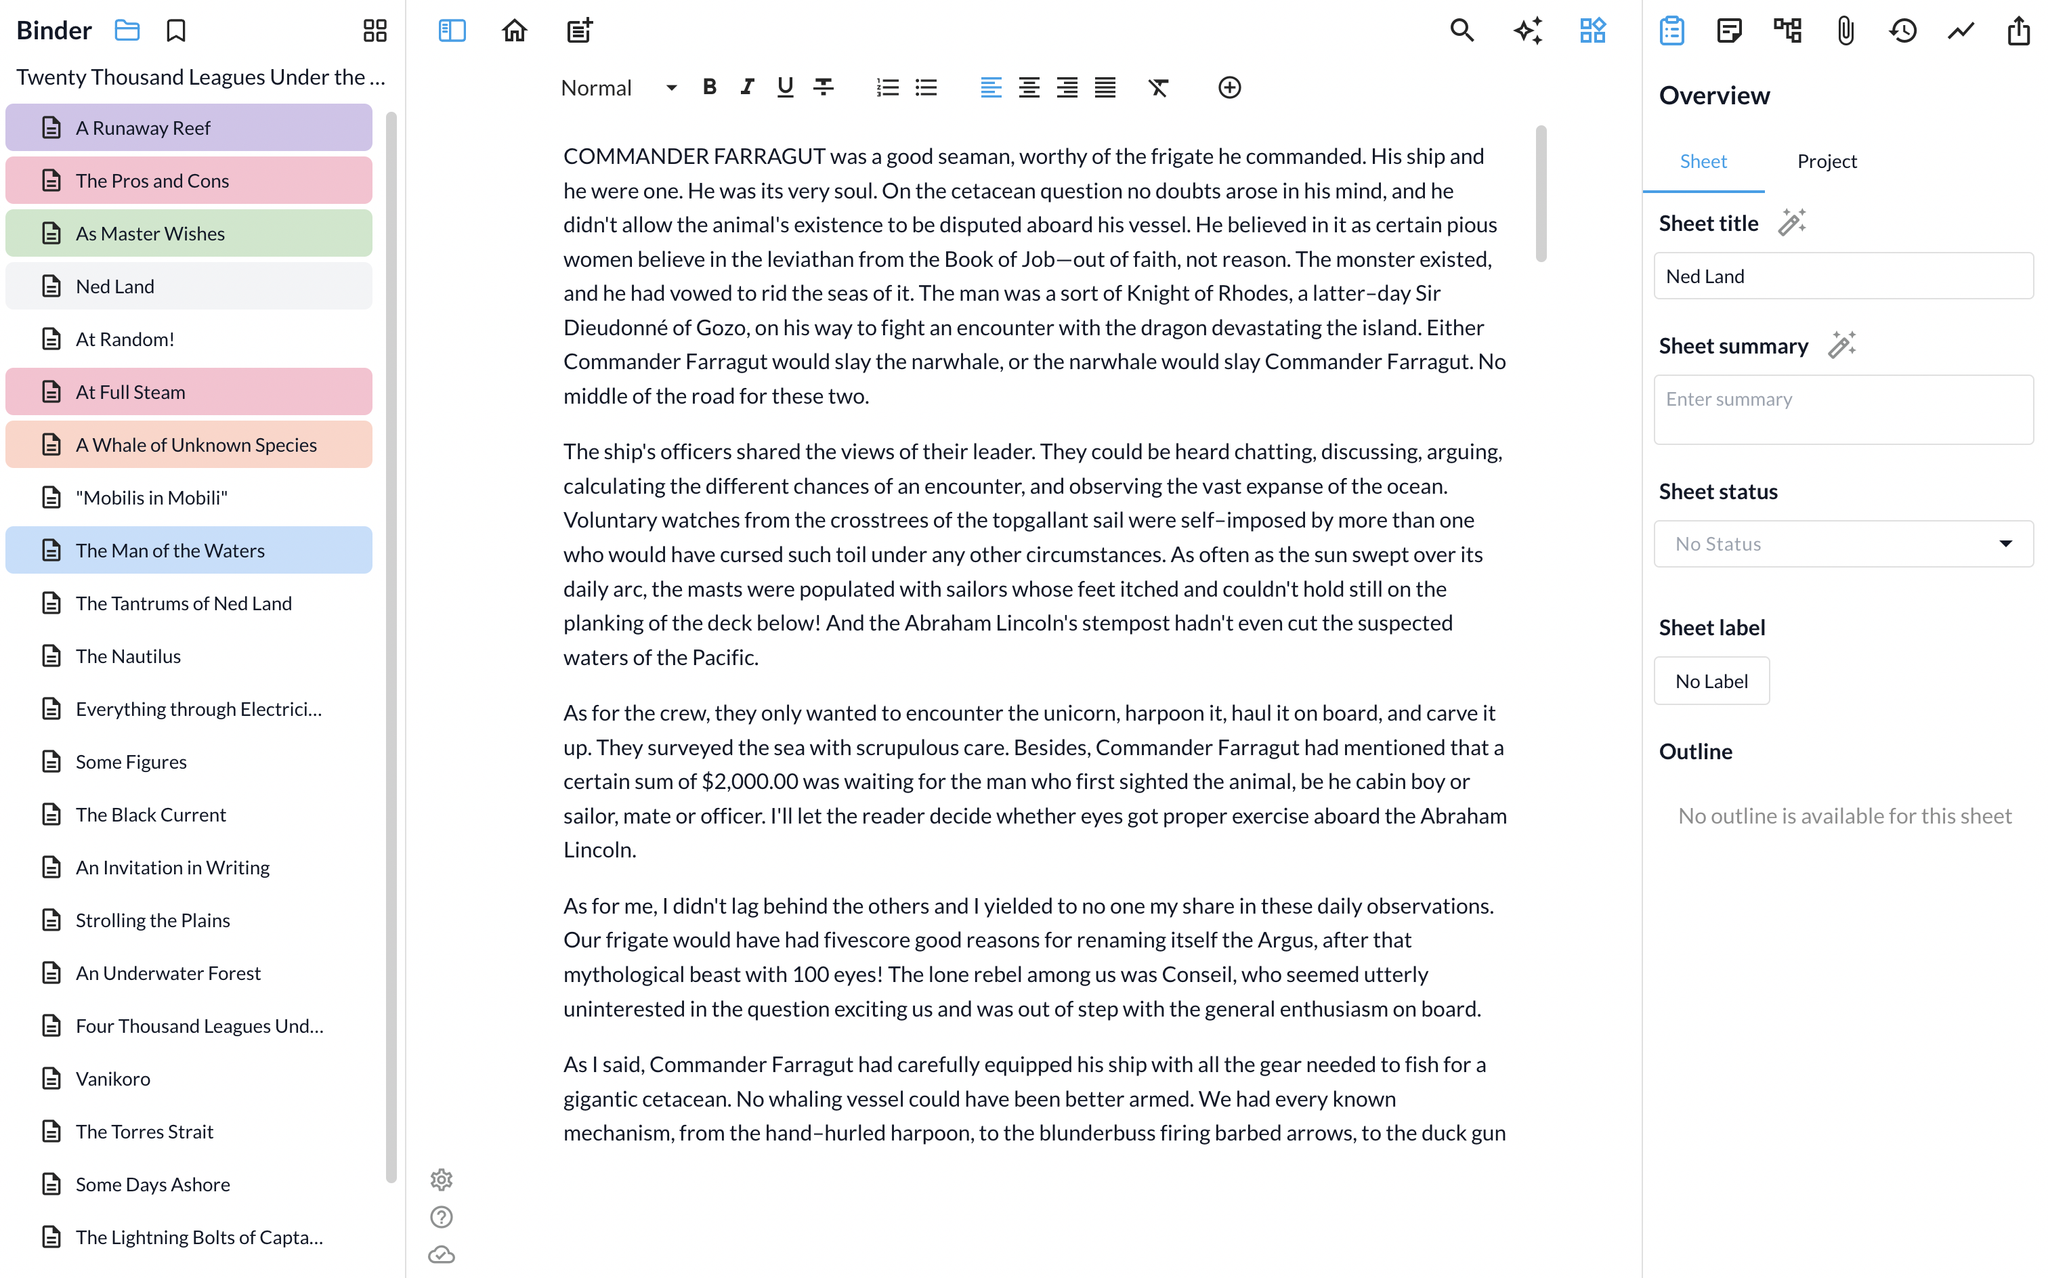
And this is what labels look like as backgrounds in the Binder:
4. View labels in the Corkboard
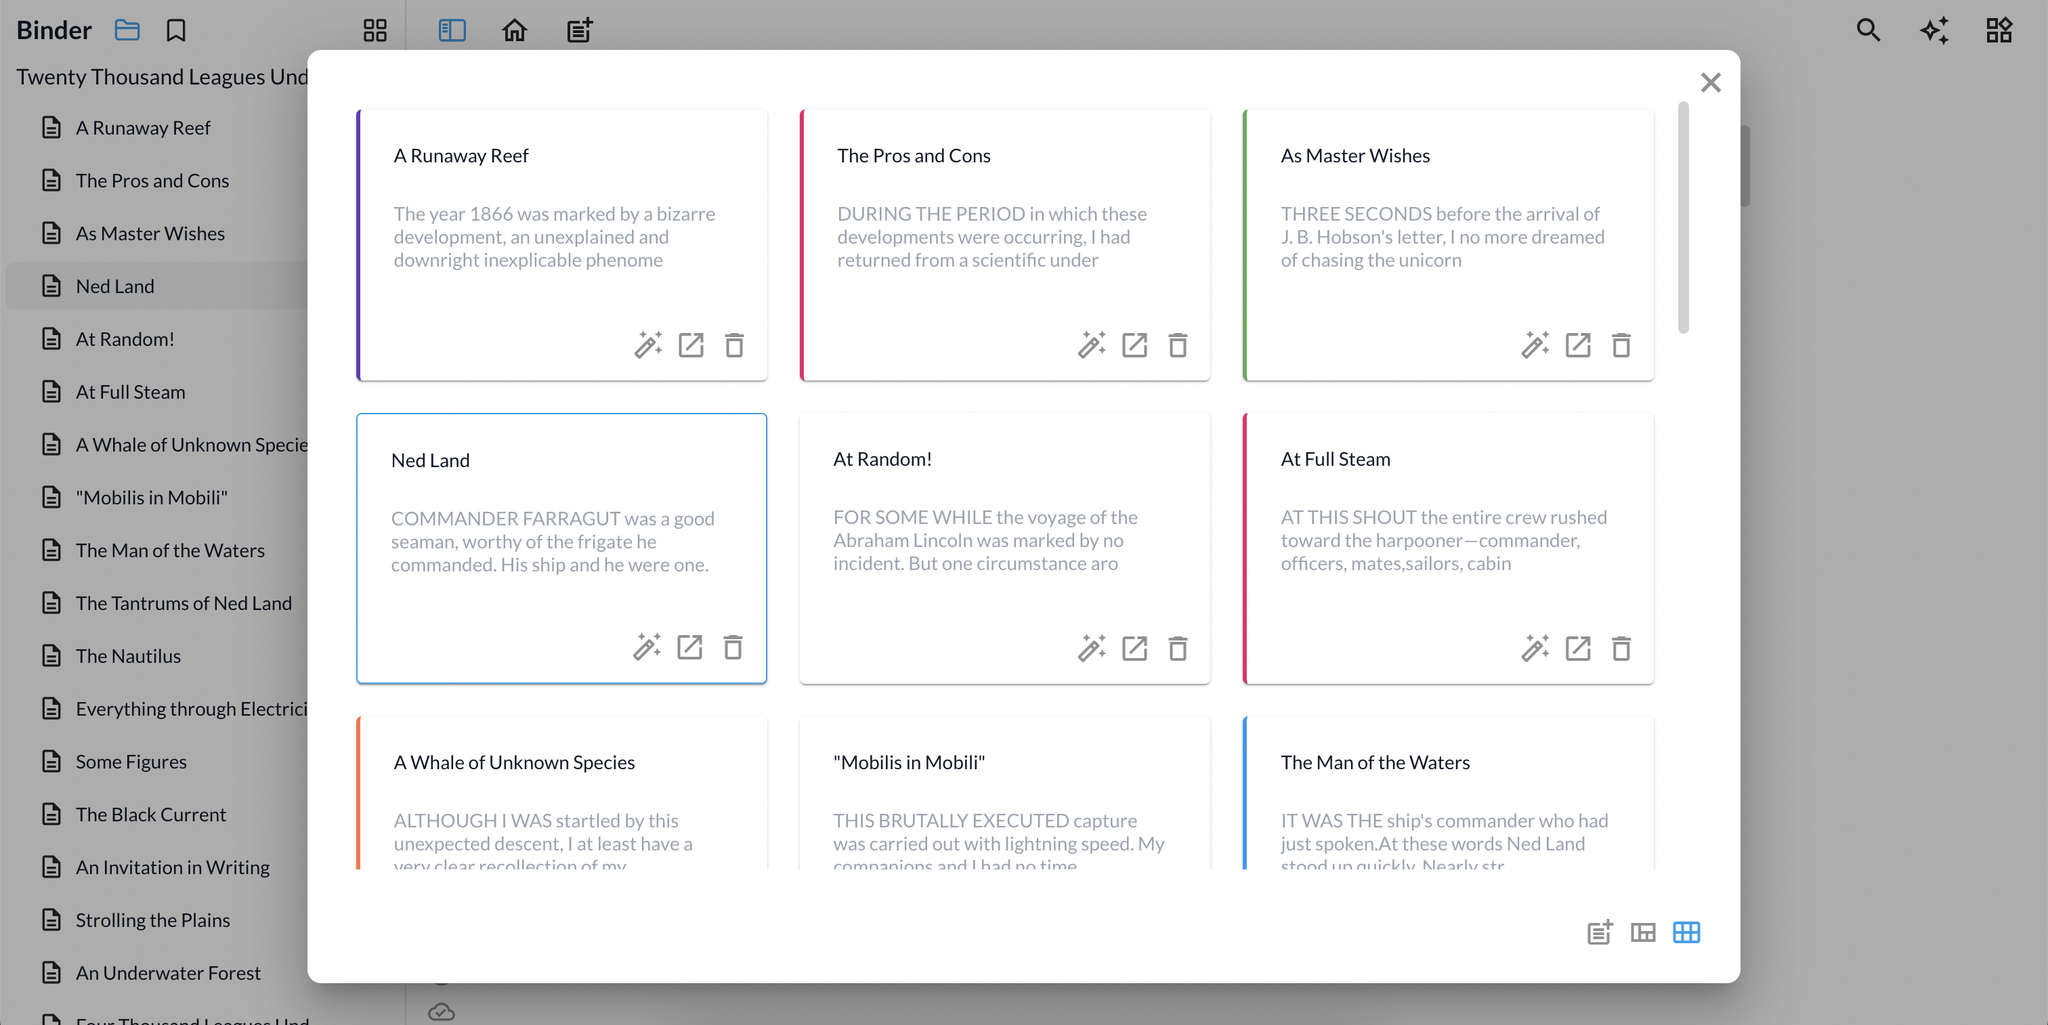
Labels also play an important role in the Corkboard view. Here you have a high-level view of the labels and sheet summaries all together:
5. Customize labels
All new Shy Editor projects are created with six preset labels, all named with colors. But, as you saw at the beginning of this article, you may want to use labels with other values: character names, statuses, time periods, settings, and more.
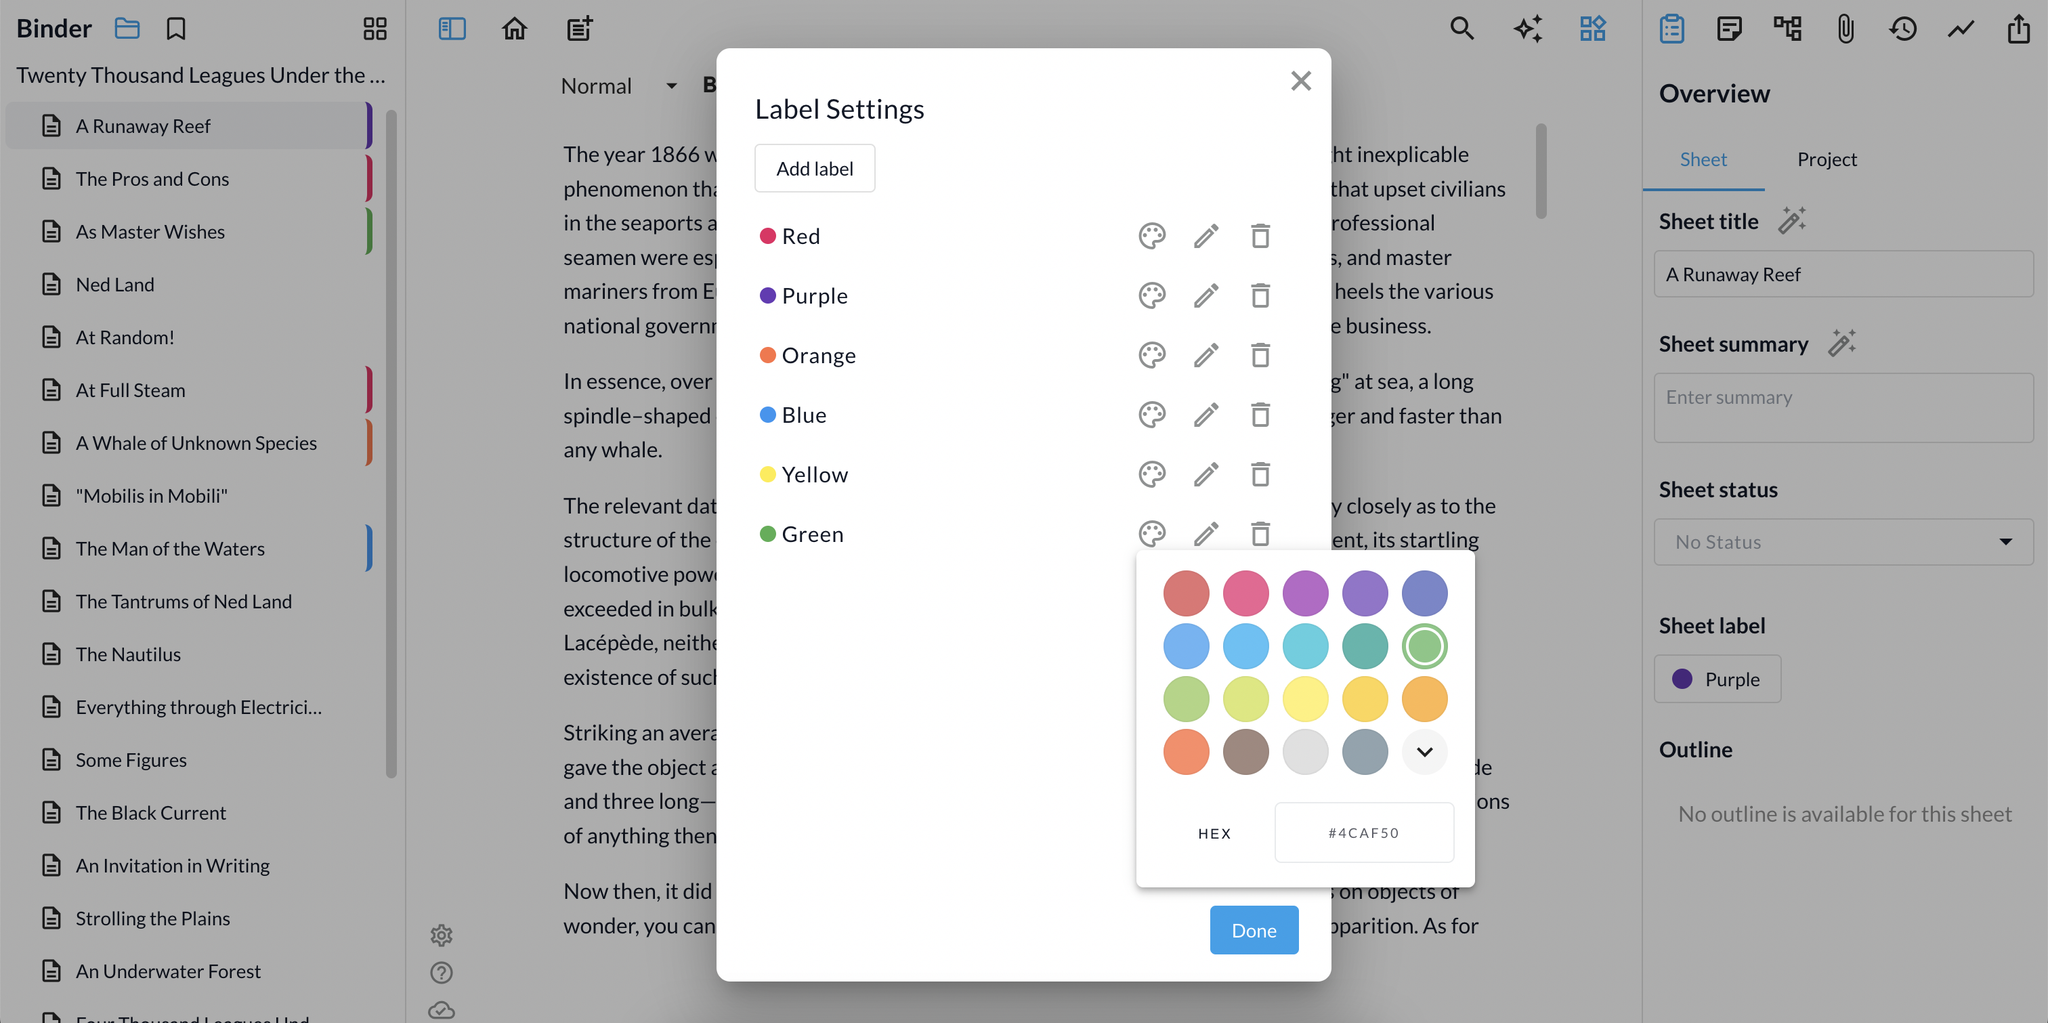
If you click on the Label button in the Overview, and select Label settings, you can see the full list of labels in the current project, rename or delete any of them, change the associated color, or create new labels.
Labels are a convenient tool that can help you view, at a glance, certain elements of your project. Try them out and see if they make it easier to organize and work on your next Shy Editor project.